Roles and Permissions
VettingGateway provides you with a flexible interface to configure Role Based Access Controls allowing you to provide the best access structure for your needs.
Primary User
Every organisation in VettingGateway will have one Primary User who is effectively the account holder. This User has full access to all areas of VettingGateway, and cannot be deleted.
Each organisation may only have 1 Primary User. If you are the Primary User you can give this role to another user at your organisation, but please note that this will remove it from your user account.
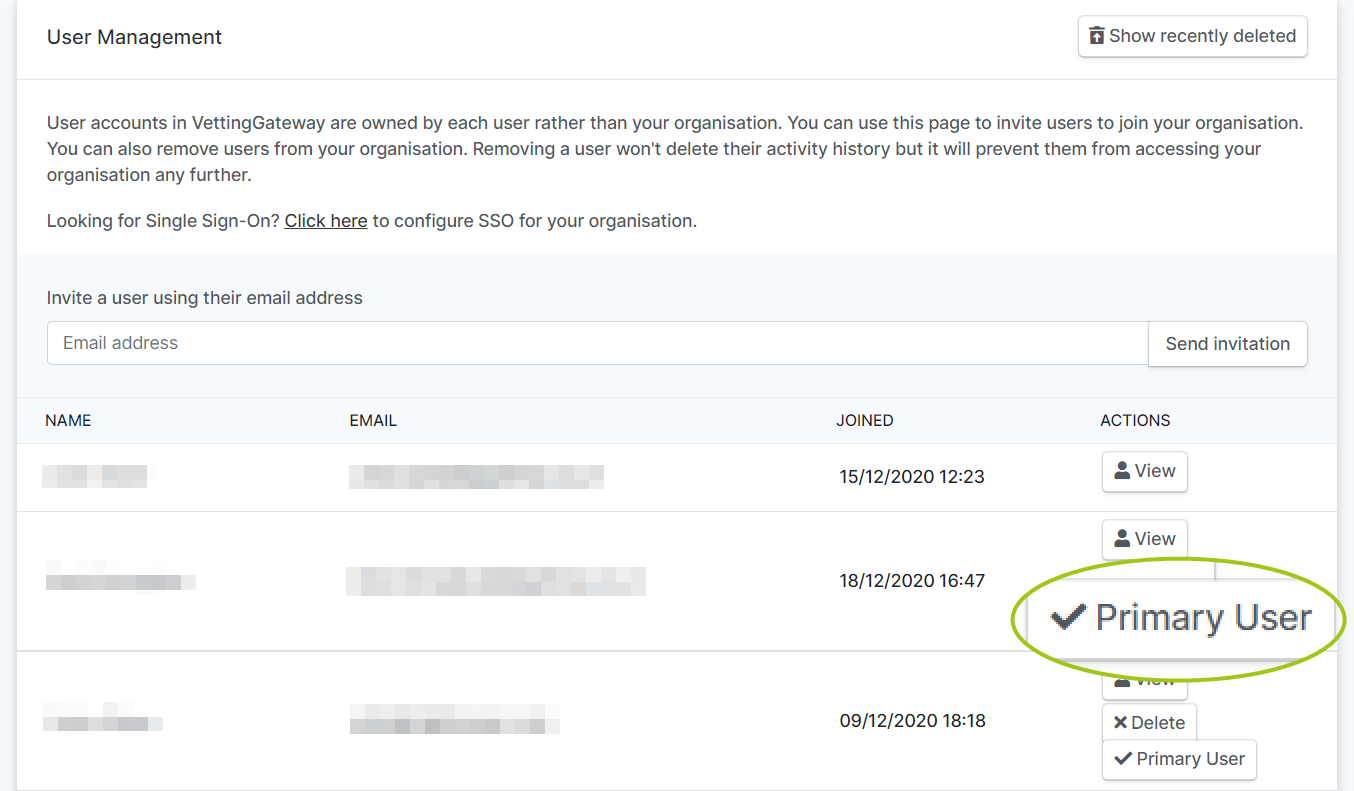
To do this, go to Admin > User Management, and click the 'Primary User' button beside the User that you want to be made Primary User.
Standard Roles
To view the current list of roles at your organisation (whether custom or standard), please go to Admin > Role Management.
VettingGateway provides you with three roles: Admin, Buyer, and Default. These roles are standardised and cannot be removed.
Admin User Role
- A System Administrator is able to access the 'Admin' functionality in the side menu, wherein they can manage Users, Roles, Billing details, etc.
Buyer User Role
- A User with Buyer permissions is able to purchase items from the marketplace.
Default User Role
- When a new user joins your organisation, their account will be automatically allocated the 'Default' user role.
Underneath the Role Management section you will see a panel titled 'Default User Role'. Here you can assign a specific role that will be applied to all new Users (once they have accepted your invitation and created an account within your organisation). This is particularly useful when creating Users via Single Sign-On
Use the drop-down to select the role you would like to apply to all new Users.
Custom Roles
To create your own roles, you will need to define what each role is capable of doing. You are able to assign more than one role to a User, so we recommend creating your roles to achieve a specific purpose and then assigning multiple roles to a User as required.
Creating a Custom Role
Role details
- Go to Admin > Role Management, and click the 'Create a new role' button. Enter a name for your role (e.g. User Manager). You can also provide a description; this is so that any other System Administrators are made aware of the purpose of this role.
Role actions
- You can then select the permissions or 'actions' that Users with this role will have. For example, a User Manager would likely require permission to access, edit, and invite Users.
Role assignment
- At the bottom of this page, you are able to assign this role to one or more existing Users. Check the box of the User(s) you want this role to be assigned to. This role will be added to any existing roles they have - it will not replace existing roles.
