Zones
Note
Zones are a VettingGateway feature exclusive to those on an Enterprise Hub licence.
Organisations can use VettingGateway Zones to separate their workload into distinct groups, which can be configured to use specific referencing Bundles, and branding that differs from that of the main organisation. You can then use the Zones filter across VettingGateway to tailor views and reports to specific Zones, including your dashboard.

(1) Create New Zone - Click here to start creating a new Zone.
(2) List of Zones - This table displays all existing Zones and their key information.
(3) Actions - Here you can edit existing Zones, manage the users that have access to them, or delete them if required.
Default Zone
When you have an Enterprise Hub licence, VettingGateway will automatically create a 'default' Zone which can be seen in the list of Zones in Admin > Zones.
Any existing vetting profiles will automatically be assigned to the default Zone. You can also assign this Zone to any new profiles that are created in order to, in essence, exclude them from any Zones you create.
Creating a new Zone
To start creating a new Zone, click 'Create New Zone' on the Admin > Zones page. You will be asked to fill out a number of fields, which are detailed below.
External clients
-
If your organisation is performing vetting checks on behalf of other companies, select 'Yes'.
-
If your organisation is not performing vetting checks on behalf of anyone else, select 'No'.
If you have selected 'Yes', some new fields will appear:
- New client - You will be asked to enter the name of the client for this Zone.
- Existing client - You will be asked to select the client from a list of your existing clients.
-
Client logo - You are able to upload a logo for the client you are vetting for. This will be displayed to applicants and referees.
-
Zone name - We recommend entering a clear and recognisable name for your Zone. For example, if your client is a security company you could have a Zone called 'Security Officers', or 'Control Room Operators'.
-
Quota - Zone workloads are based on a quota system. Quotas limit the number of active profiles the Zone can have at any one time.
-
Which bundles are allowed for this zone? - This is an optional question. You can limit the bundles that can be used when working within this Zone.
Note
You can select multiple bundles by holding down the Ctrl key on your keyboard and clicking each row you would like to include.
- Which teams will be using this zone? - This is an optional question. You can limit the Teams that can operate within this Zone.
Note
You can select multiple bundles by holding down the Ctrl key on your keyboard and clicking each row you would like to include.
Zone Users
Zones allow you to invite 'Zone Users'; these are members of the Zone or client organisation that require limited access to VettingGateway in order to monitor their applicant profiles.
Zone Users, once they have been invited and have set up their accounts, can log in to VettingGateway and see a limited view of their Zone within your organisation. These Users can perform the following actions:
- Invite applicants
- View profiles
- Run and download reports
- Configure their API keys
- Send applicant profiles to AirportGateway
Zone Users cannot perform any actions on applicant profiles such as requesting checks or editing data.
You can manage the Zone Users that have access to any given Zone by going to Admin > Zones and clicking the 'Users' button next to the relevant Zone. Here you can invite new Zone Users, and delete or resend invites to any existing Zone Users.
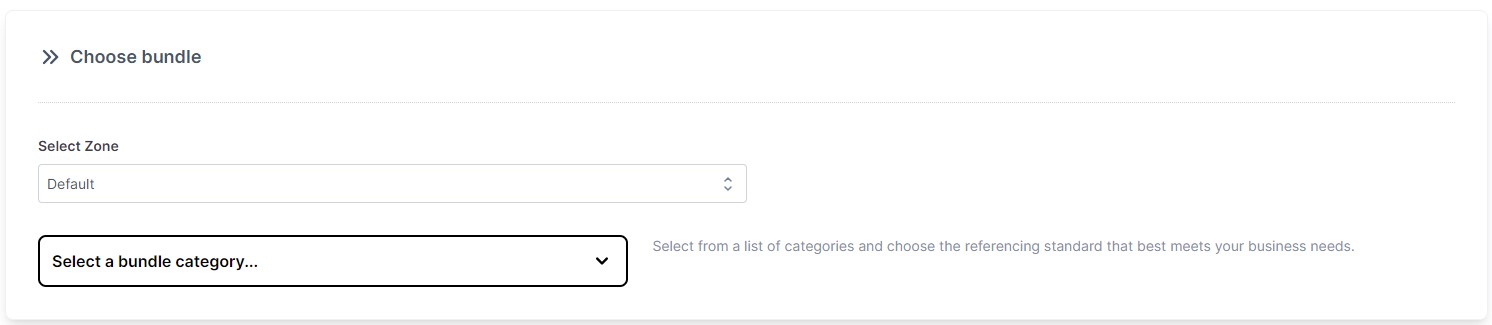
Adding profiles to a Zone
When inviting new applicants you will see a new field called 'Select Zone'. If you select a Zone in this field, this profile will be visible to Users/Teams that have access to that Zone, as well as any Zone Users that Zone may have. Similarly, this will limit the bundles that can be used on this profile to those selected for that Zone.