Starting a New Check
In order to start your background checks on an applicant, you must send them an invitation through VettingGateway. This is done by clicking New Check in the menu bar at the top of VettingGateway, or by going to Invites > Send invites.
You'll need the applicants basic details such as email address, name, and phone number. The applicant will receive an invitation email explaining your organisation is asking them to undergo background checks, with a link to get started on VettingGateway.
Inviting applicants
Select a bundle first — either a pre-configured default bundle or a Custom Bundle you have built. You will then be prompted to choose how you want to collect applicant information:
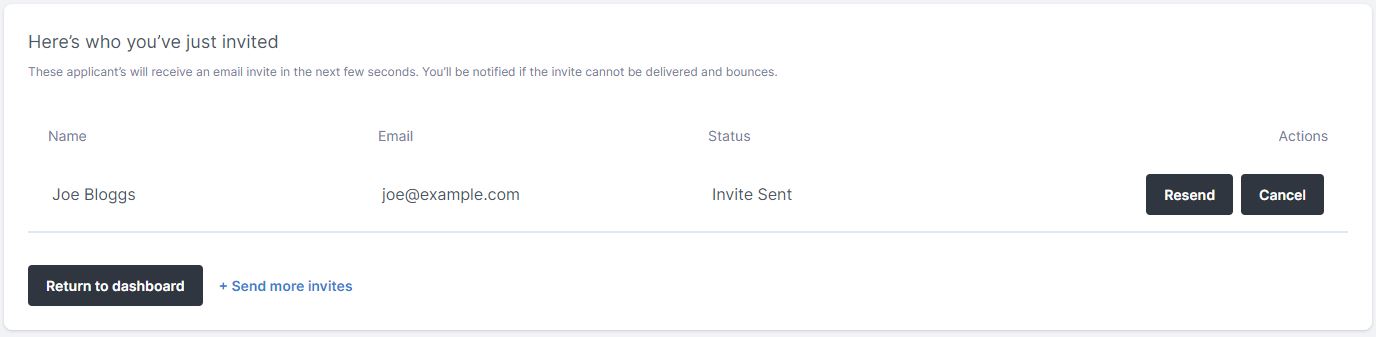
Send an email invite
Enter the applicant's basic details and any relevant reporting tags, then click Send Invite. The applicant receives an invitation email with a link to complete their profile.
Provide the details yourself
Enter the applicant's details to create their profile directly — no invitation email is sent. Use this option when you are completing the profile on the applicant's behalf.
Allocating to a team
When sending a single invite, use the Teams (optional) field in the applicant details to allocate the applicant to a team as you invite them. For an overview of all the ways to allocate profiles to teams, see Allocating to a team on the Team Management page.
Use a CSV file to invite multiple applicants at once.
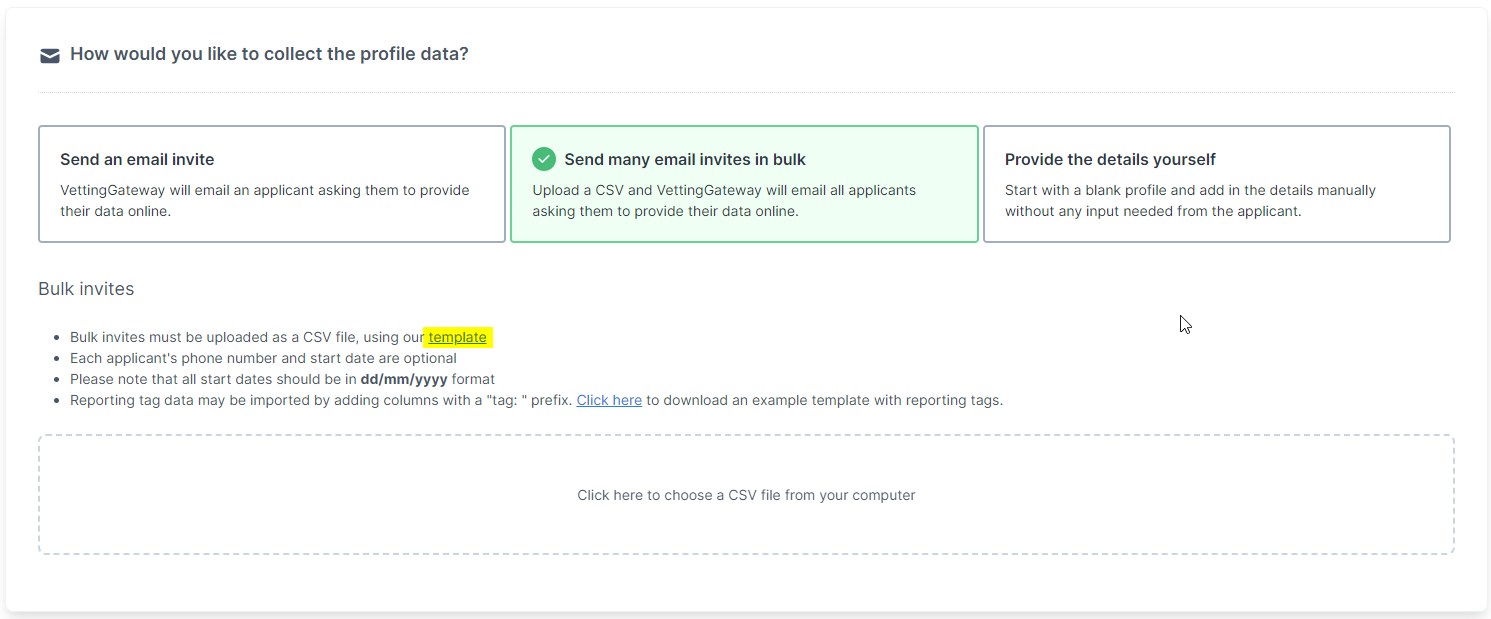
- Click the template button to download the CSV template.
- Open it in Excel and enter each applicant's details on a new row.
- Save the file and upload it using the bulk invite uploader.
- Review the imported details in VettingGateway — use Add another row to add applicants manually or Change File to re-upload a corrected CSV.
- Click Send Invites.
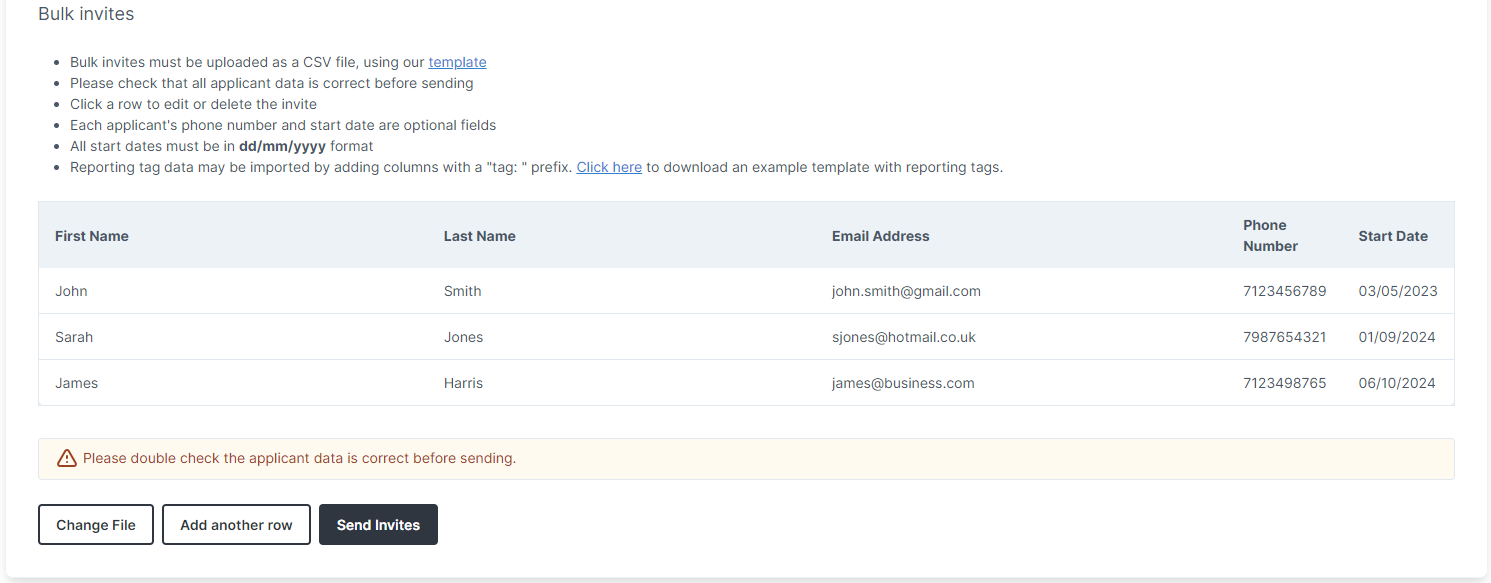
Filling in the CSV
- Each applicant's phone number and start date are optional.
- All start dates must be in dd/mm/yyyy format.
- Teams are optional. To allocate an applicant to one or more teams, separate multiple team names with a pipe or semicolon — for example
Team A|Team BorTeam A; Team B. - Reporting tag data can be imported by adding columns with a
tag:prefix. See Reporting tags for details.